Welcome to my blog!

Thanks so much for stopping by! I believe that everyone can have a beautiful home without spending a fortune! One of my favorite things to do is find creative ways to re-purpose things I already have on hand, or have picked up at yard sales and thrift stores. Join me as I share with you some of my favorite ideas for crafting and decorating, as well as travel adventures, and fun things that I pick up on my treasure hunts! Much of my work is influenced by my love all things French, nature, and of course shabby chic! I have gotten so many creative ideas from you very talented bloggers out there, and I hope that I can be an inspiration to you as well!

Wednesday, April 1, 2015

Frame Love


One of my favorite things to hunt for when I'm out thrifting is pretty picture frames!
Don't you just love the thrill of the hunt?  You really never know what you will find.  Many times I leave empty handed, but sometimes I luck out and find some real beauties!
Well, they don't always start out so lovely.
Oh, no!
I don't have any before shots of the frames that I'm sharing with you here, but most were pretty ho-hum when I first spotted them!

 What is even more fun than searching high and low for the frames is painting them, and combing them into pretty sets for my Etsy shop.
This set here is my latest creation.  You will notice a theme here, I just love combing pink and creamy white!!
 Frames are one of my best sellers, and it's always so exciting when a buyer tells me they are using them for their babies nursery, or as part of their wedding.
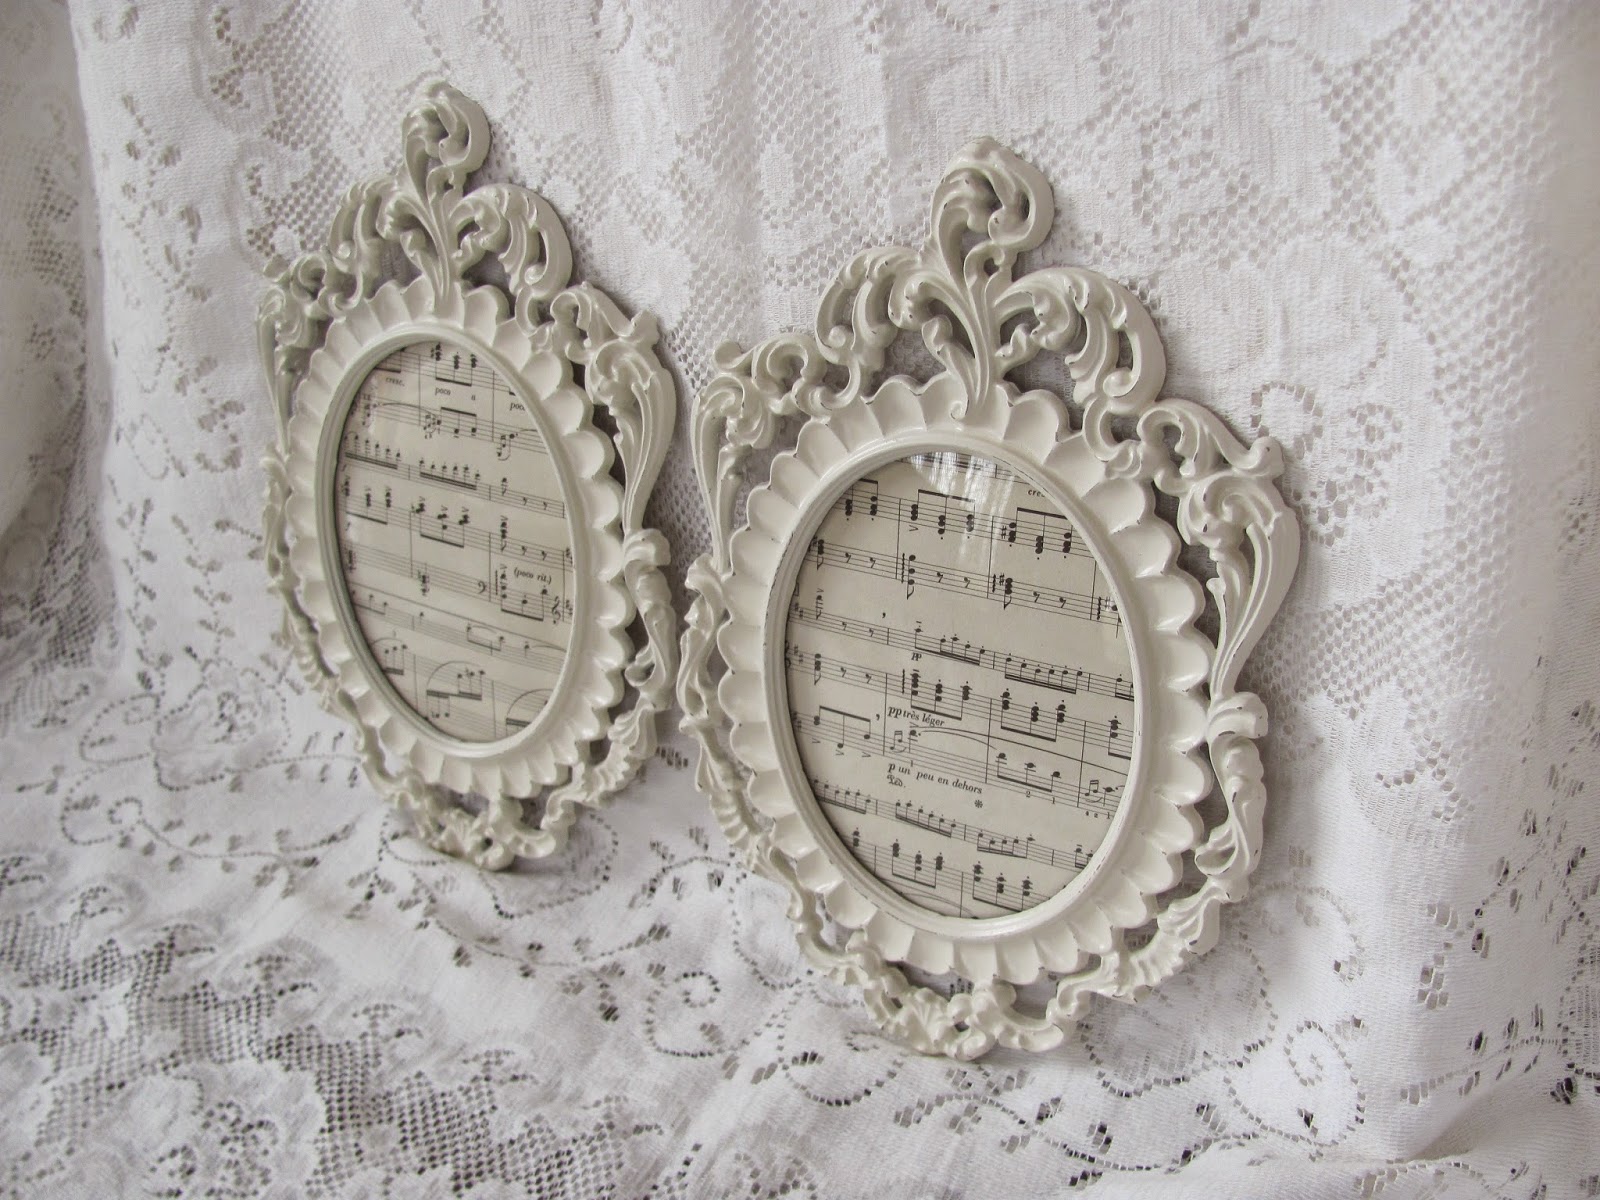
Many of the frames that I find are vintage, like these.
I was super excited to find this gorgeous ornate pair, below.
They are vintage and made in Italy.
 They are simply shabbylicious!!

 Even hubby helps me hunt for frames.  He knows now just what to look for!
I almost always include pretty decorative paper or vintage sheet music to the insides of the frames, as I think it makes them even prettier for their photo shoots!

I love mixing my own paint colors, which is what I often do to create lovely shades of pink.

This set below I created awhile back.  I could hardly believe my luck to find a matching set of these vintage metal filigree frames!
 The floral details are amazing!
They were gaudy gold when I found them, and I think they are so much happier painted my signature creamy dreamy white!

 I just sold this last set.
So that means only one thing..........
I need to get out and look for more frames to paint!
Thanks for stopping by, hope you have a great day!

Friday, March 27, 2015

Stenciled Crates Project

Bonjour Mes Amis!
Hope you've been having a good week!
Today I wanted to share with you one of my latest projects, a pair of painted and stenciled wood crates, which I completed as a project for DecoArt.  I am on the DecoArt design team, so I was super excited to work on this!  The only requirement was that I paint something with their Chalky Finish paint, and use their stencils.  Other than that, it was free reign!
So, I ended up with a couple of wooden crates that I purchases from Home Depot.
Actually they don't carry them in their stores, you have to order them on line.  I really didn't know what to expect, as this was my first experience ordering anything from Home Depot.  I was very pleasantly surprised at not only how quickly they arrived, but the quality of the crates!  They are solid pine and very sturdy. For the price and quality, it wouldn't have paid for my handy hubby to build them!
And, they are made in the USA!
Anyway, back to the crates!
For the one below, I painted the entire piece with DecoArt's "vintage" chalky paint.  It is a really pretty light blue.  I distressed it a bit around the edges, then used their stencils to add a French accent!
I used "night sky" in their satin acrylic paint for the stenciling.

 I took the crates to our botanical gardens for a little photo shoot, and had so much fun among the blooms!
 Love this French themed stencil!
 I then added "No 4" to each end, using DecoArt's "Old World Numbers" stencil.
 For the second crate, I painted it in "Yesteryear" Chalky Finish paint, a soft light gray.
A bit of distressing around the edges, then the fun part of stenciling!
 I chose the "Brocade Motif" for this one, and used "Promise" Chalky Finish paint for the stencil.  It is a really soft pale pink, and such a pretty color along with the gray, I think.
I thought this cute little flower cart at the gardens made a fun backdrop!
 Here is a crate before I painted and stenciled it!
 What could be more French than the fleur de lis motif?  I thought that was very fitting to add to the ends of the crate.
 After the crates were painted and stenciled, I then covered them all with a coat of DecoArt's light satin varnish, for protection.
All in all, it was a super fun project!  I can hardly wait to get some more crates to work on!
I was compensated by DecoArt for this project, but the opinions are my own:)
I've added the crates to my Etsy shop, if you care to take a peek.
Have a great weekend, and thank you for stopping by!
Sharing with:
Inspire Me Monday
My Uncommon Slice of Suburbia

Tuesday, March 24, 2015

Easter Hutch in My Craft Room

It's hard to believe that Easter is just a few short weeks away!
So to celebrate the season, and add a springy touch to my craft room, I decided to decorate my hutch.
Awhile back I shared with you the Easter pennant that I created.  I thought my hutch would be the perfect place to display it!

 Here is a look at my hutch and desk, which reside in my craft room. This was part of my French Provincial bedroom set that I had when I was a young girl.  My mom still had the desk, hutch, and matching chair, and didn't use them.  I brought them home a few years ago, and just love it!
Ok, I am totally dating myself, but I remember when I was about 11 or so, going to Montgomery Ward with my mom and sister to pick out my furniture.  I was beyond thrilled, as it was my very first new furniture!
I picked out the matching four poster bed, dresser, and mirror.  I think so many little girls had sets very similar to this at the time.
Little did I know, but that was the start of my love of all things French and shabby chic!
 I think the banner adds such a fun and festive touch!

 I had fun adding touches here and there, like this tres chic petite Eiffel Tower, a gift from a dear friend.
Sitting next to it is a peat pot I made last year, with a bird's nest and faux eggs that I made from polymer clay,
 A sweet little bunny and large silk blossom are hallmarks of spring!
 A small vintage glass apothecary jar (a thrift store find) is filled with pink and blue eggs that I made, along with one of my French bird tags.
 Cute little chicks on an Easter card.
 I "borrowed" this glass cloche with nest and eggs from my Etsy shop.
 I love displaying vintage postcards or photos in my vintage flower frog!
 Here are two of my vintage Easter postcards I pulled out of my stash.
 Gorgeous heart shaped tag I purchased from Becky at Timewashed, which I shared with you last week.  Love!
 Vintage Virgin Mary print is a gentle reminder of the reason we celebrate.
 Here's one last look!  Thanks for joining me on my little tour!

Sunday, March 22, 2015

Vintage Basket Makeover

Hi everyone, 
Happy Spring!
One of the first things I think of with the change of seasons, going from cold and dark winter to sunny and mild spring, is color!
Especially the soft pastels that I love.
So that was the inspiration for my latest makeover.
I had a cute vintage wood slat basket in my stash for several years, and really never did anything with it.  It sat nearly forgotten in the cupboard for ages.  I almost got rid of it more than once, but thankfully I held onto it!  It looked like the type of basket that might have held produce at one point.  I neglected to take a before shot, but it had the original dark finish.  Cute and rustic, but not what I had in mind!
So, I ended up painted and embellishing it, and this is what I came up with!
 I began by dry brushing the entire basket in a soft peachy pink chalk paint.  I blended several different colors til I came up with the shade I had in mind.  I just love doing that!  I wanted some of the original dark stain to show thru, so that is why I decided to dry brush it.  And since it looked kind of "flat" with just the peachy pink, I then dry brushed a creamy white latex paint ('cause that is what I happened to have on hand!), layering it to give added dimension.  I liked that look so much better than just the peach alone!

 Then I set about to embellish the basket.  I began by pulling out some various supplies that I happened to have on hand.  I added gorgeous wide cotton creamy lace trim to the top edge.
I also happened to have these pretty silk blossoms, in the perfect shades of peach, pink, and blush.
Love!  I added those to the front, along with their green silk leaves.
 You know how much I love glitter, right?  Well, these flowers actually came with a touch of glitter, so I didn't have to add any more:)!
 Oh, I almost forgot to mention that I painted the cute little wood handle with the same peachy, creamy dry brushing technique.
I also love adding crinkly seam binding ribbon to many of my projects, and I had this pale pink that was perfect!  So I tied a generous bow of it to each side of the wire handle.
 The best part of this project, other than the fun I had, was that I had all of the supplies needed on hand!
 I've placed it in my Etsy shop.  Wouldn't it be darling used as a flower girl's basket in a rustic themed wedding?  Or filled with a pretty flowering plant?
Thanks for stopping by, hope you have a wonderful week!

Wednesday, March 18, 2015

Vintage Stenciled French Themed Crate

Bon Jour Mes Amis!
Are you attracted to vintage wood crates like I am?  Well, I'd been looking for one to redo for some time, and finally found one!  Well, I have to give my hubby credit for finding it actually, while we were out thrifting together recently.
I didn't get any before shots of this vintage wood fruit crate.  Let's just say that it was in need of some love!
Or should I say "amour", as I gave this puppy a makeover with a French accent!

 After giving the crate a good cleaning, I began by painting it with a beautiful light blue chalk paint.  I intentionally left some of the wood showing thru here and there, to add to the time worn charm.
 A bit of distressing gave it even more of a rustic feel.  I then stenciled both front and back with this lovely
"Marche Aux Fleurs", or "Market of Flowers".
And to each end I added the word "fleurs".
 I am so happy with the way it turned out.  I had alot of fun during the little photo shoot, as I placed this beauty in my Etsy shop if you care to look.
 Wouldn't it be beautiful filled with pots of lavender?
 That is one of the reasons I love crates.  Not only are they good looking, but can be used in so many ways, all thru out the house.  Fill with books and magazines, or maybe place on the kitchen counter with wine glasses and a wine bottle.  Or used in the bathroom to attractively store towels or toiletries.
So there you have it, my vintage fruit crate turned French flower market crate!
Thanks for stopping by today!