Welcome to my blog!

Thanks so much for stopping by! I believe that everyone can have a beautiful home without spending a fortune! One of my favorite things to do is find creative ways to re-purpose things I already have on hand, or have picked up at yard sales and thrift stores. Join me as I share with you some of my favorite ideas for crafting and decorating, as well as travel adventures, and fun things that I pick up on my treasure hunts! Much of my work is influenced by my love all things French, nature, and of course shabby chic! I have gotten so many creative ideas from you very talented bloggers out there, and I hope that I can be an inspiration to you as well!
Showing posts with label pink. Show all posts

Saturday, January 16, 2016

Fun Heart and Arrow Project

Bonjour Mes Amis!
Hope you all had a great week.
I know what you must be wondering, 
"Why oh why is this girl rushing ahead to Valentine's Day already?!"
Well, if you are one who creates, then you probably like to plan ahead a bit.
I know some of you even plan and create Christmas projects in July!
Well, I am not nearly that organized!
But, since DecoArt was requesting Valentine's themed projects, I just couldn't resist creating this stacked heart and arrow!

 I had so much fun with this project, and couldn't resist adding a bit of my signature glitter!
My color palette was white along with pretty shades of pink.
 Just for fun, I decided to add a white polka dot border to the middle heart.
 I found this adorable white grosgrain ribbon with little gold arrows, which I thought was the perfect embellishment for my hearts!
 I should back up a bit by saying that the hearts started out as unfinished wood pieces.

 Same with the arrows.  I also found a really neat dimensional metal arrow that I added.
 Here's a little tip if you want to paint polka dots.  Just take the eraser end of a pencil and dip it in a bit of your paint to create dots.  Dip each time you make a new dot, and viola!
Fun and cheerful, easy-peasy polka dots!!
 I had the best time creating this project for DecoArt!
I hope it inspires you to make something too!
Thanks so much for stopping by, your visits and comments mean alot to me:)

Monday, September 7, 2015

Petite Pink Pumpkin Topiary

Hi everyone, Happy Labor Day!
It's hard to believe we are already going into the second week of September, isn't it?
While the calendar may say that fall is just around the corner, it is still very hot and humid in our neck of the woods.
Today I wanted to share with you my latest creation, which I just completed for DecoArt.
They had requested a Halloween themed project, and it was totally up to me what to create.
I just love projects like that, where the sky (and my imagination) is the limit!
So, after a bit of thought, I came up with a  pink pumpkin topiary with a shabby chic twist!
 It all started with faux orange pumpkins from Hobby Lobby. 

Since I am not into the traditional fall colors (no orange here!), I just couldn't resist painting them pink!
It's a bit hard to tell in the photos, but the largest pumpkin is a bit darker shade of pink, and the middle and top pumpkins are lighter shades.
After painting, I then decoupaged the pumpkins with these pretty floral designs, which I found on Pinterest.
I cut them all out by hand, which was a bit tedious.
 I felt that the pumpkins needed a bit more, so I decided to add some fun polka dots in a creamy white.
A pencil eraser, dipped in DecoArt craft paint, makes perfect polka dots!
Once dry, I coated the entire surface of each pumpkin with DecoArt's decoupage medium, then liberally dusted them with clear iridescent glitter.
('cause a girl just needs a little bling every now and then!)
Here is a close up, below.  I stacked them in this cute little metal urn, also from Hobby Lobby.
It has the sweetest scalloped rim.
It started out a dark gray, which didn't really go with the look I was after, so of course I just had to paint it creamy white!
Before nestling the pumpkins inside the urn, I added a bit of Spanish moss, and a few snippets of shredded and curled vintage sheet music, just for fun. 
For my little photo shoot, I created this cute "boo" sign, which I made on
PicMonkey, and stuck in a pretty thrift store frame that I painted.
 Boo!
 So there you have it....................
 My pink, glittery, petite pumpkin topiary!
 Hope this inspires you to create something just for fun!

Wednesday, April 1, 2015

Frame Love


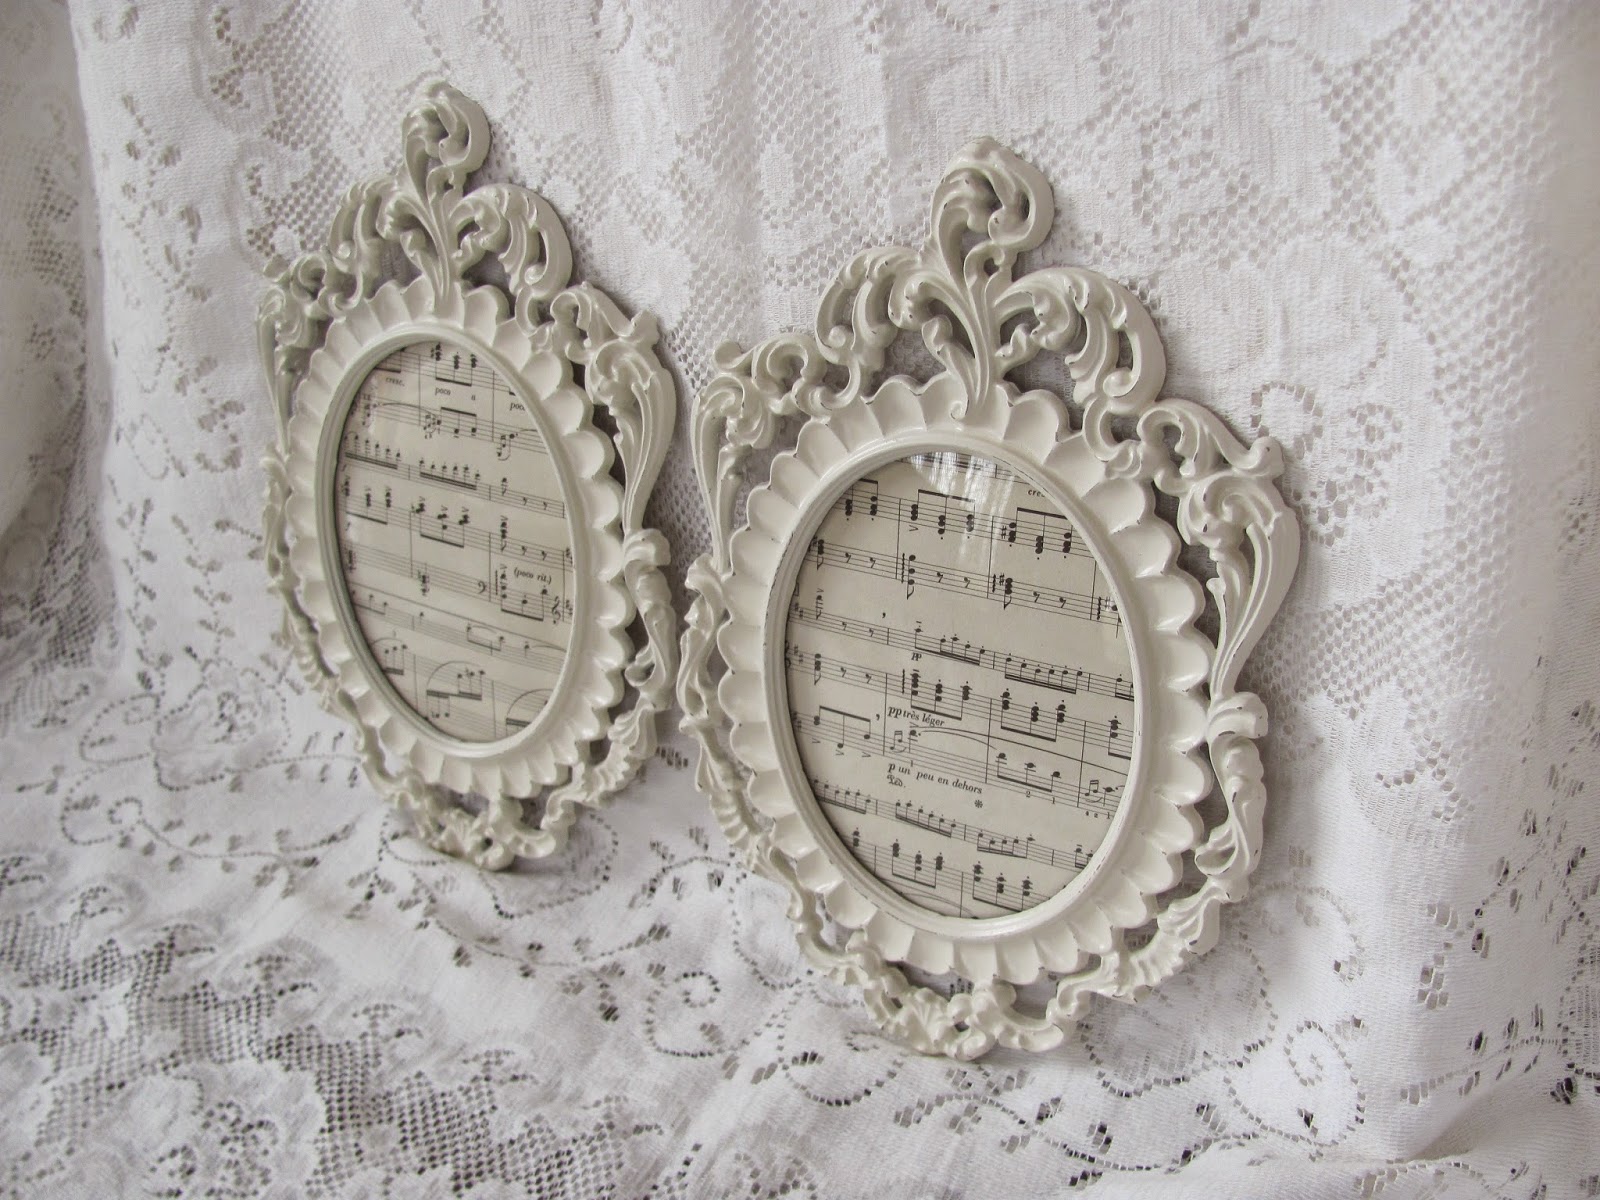
One of my favorite things to hunt for when I'm out thrifting is pretty picture frames!
Don't you just love the thrill of the hunt?  You really never know what you will find.  Many times I leave empty handed, but sometimes I luck out and find some real beauties!
Well, they don't always start out so lovely.
Oh, no!
I don't have any before shots of the frames that I'm sharing with you here, but most were pretty ho-hum when I first spotted them!

 What is even more fun than searching high and low for the frames is painting them, and combing them into pretty sets for my Etsy shop.
This set here is my latest creation.  You will notice a theme here, I just love combing pink and creamy white!!
 Frames are one of my best sellers, and it's always so exciting when a buyer tells me they are using them for their babies nursery, or as part of their wedding.
Many of the frames that I find are vintage, like these.
I was super excited to find this gorgeous ornate pair, below.
They are vintage and made in Italy.
 They are simply shabbylicious!!

 Even hubby helps me hunt for frames.  He knows now just what to look for!
I almost always include pretty decorative paper or vintage sheet music to the insides of the frames, as I think it makes them even prettier for their photo shoots!

I love mixing my own paint colors, which is what I often do to create lovely shades of pink.

This set below I created awhile back.  I could hardly believe my luck to find a matching set of these vintage metal filigree frames!
 The floral details are amazing!
They were gaudy gold when I found them, and I think they are so much happier painted my signature creamy dreamy white!

 I just sold this last set.
So that means only one thing..........
I need to get out and look for more frames to paint!
Thanks for stopping by, hope you have a great day!

Friday, December 5, 2014

Petite French Cupboard Makeover

Bonjour Mes Amis!
Today I wanted to share with you my latest drab to fab transformation, 
this pretty Frenchy cabinet.
It didn't start out this lovely though!
Au contraire!
 This is what she started out life as!
I found her a few weeks ago while out treasure hunting, and was immediately drawn to the great lines she had.  Made of solid wood, she is sturdy and substantial.  At just under 2 feet tall, she weighs in at 7 1/2 pounds! (yes, I really did weigh her!!)
 While the paint job was very well done, the colors were definitely not the look I was going for!
I could hardly wait to get this puppy home and begin the transformation process!
After removing the doors, and giving the entire piece a good cleaning,  I was ready to roll.
Let me tell you, it took many, many coats of the creamy white chalk paint that I used to cover up that awful rusty/burgundy color!
I immediately knew that I wanted to give the cabinet a French accent.  I had debate on weather to add stenciling to the doors, but decided to decoupage this gorgeous and ornate frame graphic that I found over at the Graphics Fairy.
(love!)
I added the French wording to the frames, giving it the look of a sign from a Parisian flower market.
As luck would have it, the frames fit perfectly in the insets on the doors!
As a fun little surprise, I decoupaged copies of vintage French book pages to the inside back of the cabinet.
I love that there is a little shelf inside to display treasures or mementos.

The cupboard also has two cute little drawers down below.  So I just had to add a bit more French flair by stenciling a sweet fleur de lis and swirl motif.
Love the cute little wooden ball feet that the cupboard stands on!

 I must say that this piece is one of my all time favorite makeovers!
 While I would love to keep her, I created the piece for my Etsy shop.
You can take a peek here if you want.
 My imaginary flower market is on rue Ecoles, the same street that our favorite little hotel in Paris is on!
But, here is a real flower shop in Paris, below!  It is right across the rue from our hotel!
 And a few more shots I snapped of some flower markets in Paris.
I am missing it there!

 She was a labor of love, but oh so much fun to create!
 I am really loving that ornate frame graphic, I can't wait to come up with more ideas using it.
 So there you have it, my petite wooden cupboard with a French accent!
Au revior!
Joining French Country Cottage for Feathered Nest Friday