Welcome to my blog!

Thanks so much for stopping by! I believe that everyone can have a beautiful home without spending a fortune! One of my favorite things to do is find creative ways to re-purpose things I already have on hand, or have picked up at yard sales and thrift stores. Join me as I share with you some of my favorite ideas for crafting and decorating, as well as travel adventures, and fun things that I pick up on my treasure hunts! Much of my work is influenced by my love all things French, nature, and of course shabby chic! I have gotten so many creative ideas from you very talented bloggers out there, and I hope that I can be an inspiration to you as well!
Showing posts with label Easter. Show all posts

Wednesday, February 10, 2016

Easter Shadow Box Project

Hi everyone, how is your week going?
Ok, so I do realize that Easter is still more than a month away.
But, for those of us who love to create, well, we often tend to jump ahead of the calendar, right?
I do have a valid excuse, though, as this is my latest project for DecoArt!  
DecoArt was requesting Easter themed projects, so I couldn't resist the chance to make something fun and spring like!
Sometimes inspiration comes just from walking thru the isles the craft store.  Other times it's searching for neat ideas on Pinterest.  And yet others just seem to pop into my head!
So with that, I'll share with you my Easter shadow box project.
 I found this neat wood shadow box with a pretty laser cut frame at Michael's.  I knew right away that it would be the basis for my project!
 Then I had another brainstorm!  I picked up these little wood banner cut outs, also at Michael's
I began by painting the frame and outside of the box in the prettiest light green, called "Pistachio".
One easy way to get more mileage out of your paints 
(and keeps you running to the store to buy yet another color!) is to mix several colors together to create a multitude of shades!  So for a little contrast, I mixed some of the green with a bit of white "Snowball" to make a slightly lighter shade of green, and used it to paint the inner edges of the box.
 I also painted the little wood pennants in both shades of green, as well as a pretty "Baby Pink".
Again, for another shade of pink, I mixed it with a little white to create a paler pink for some of the other pennants.

 I love adding little polka dots to my projects.  So I decided to add them to the edges of each pennants, just for fun.  It was easy peasy!  Just dip the end of a small paint brush, or even the eraser end of a pencil into your paint to create the dots (I used white).
 To each pennant I added adhesive alphabet stickers to spell out "Happy Easter".
You can't tell from my photos, but the letters have just a bit of sparkle 
(because you know just how much I love glitter!)
 I then added the pennants to two lengths of jute twine.
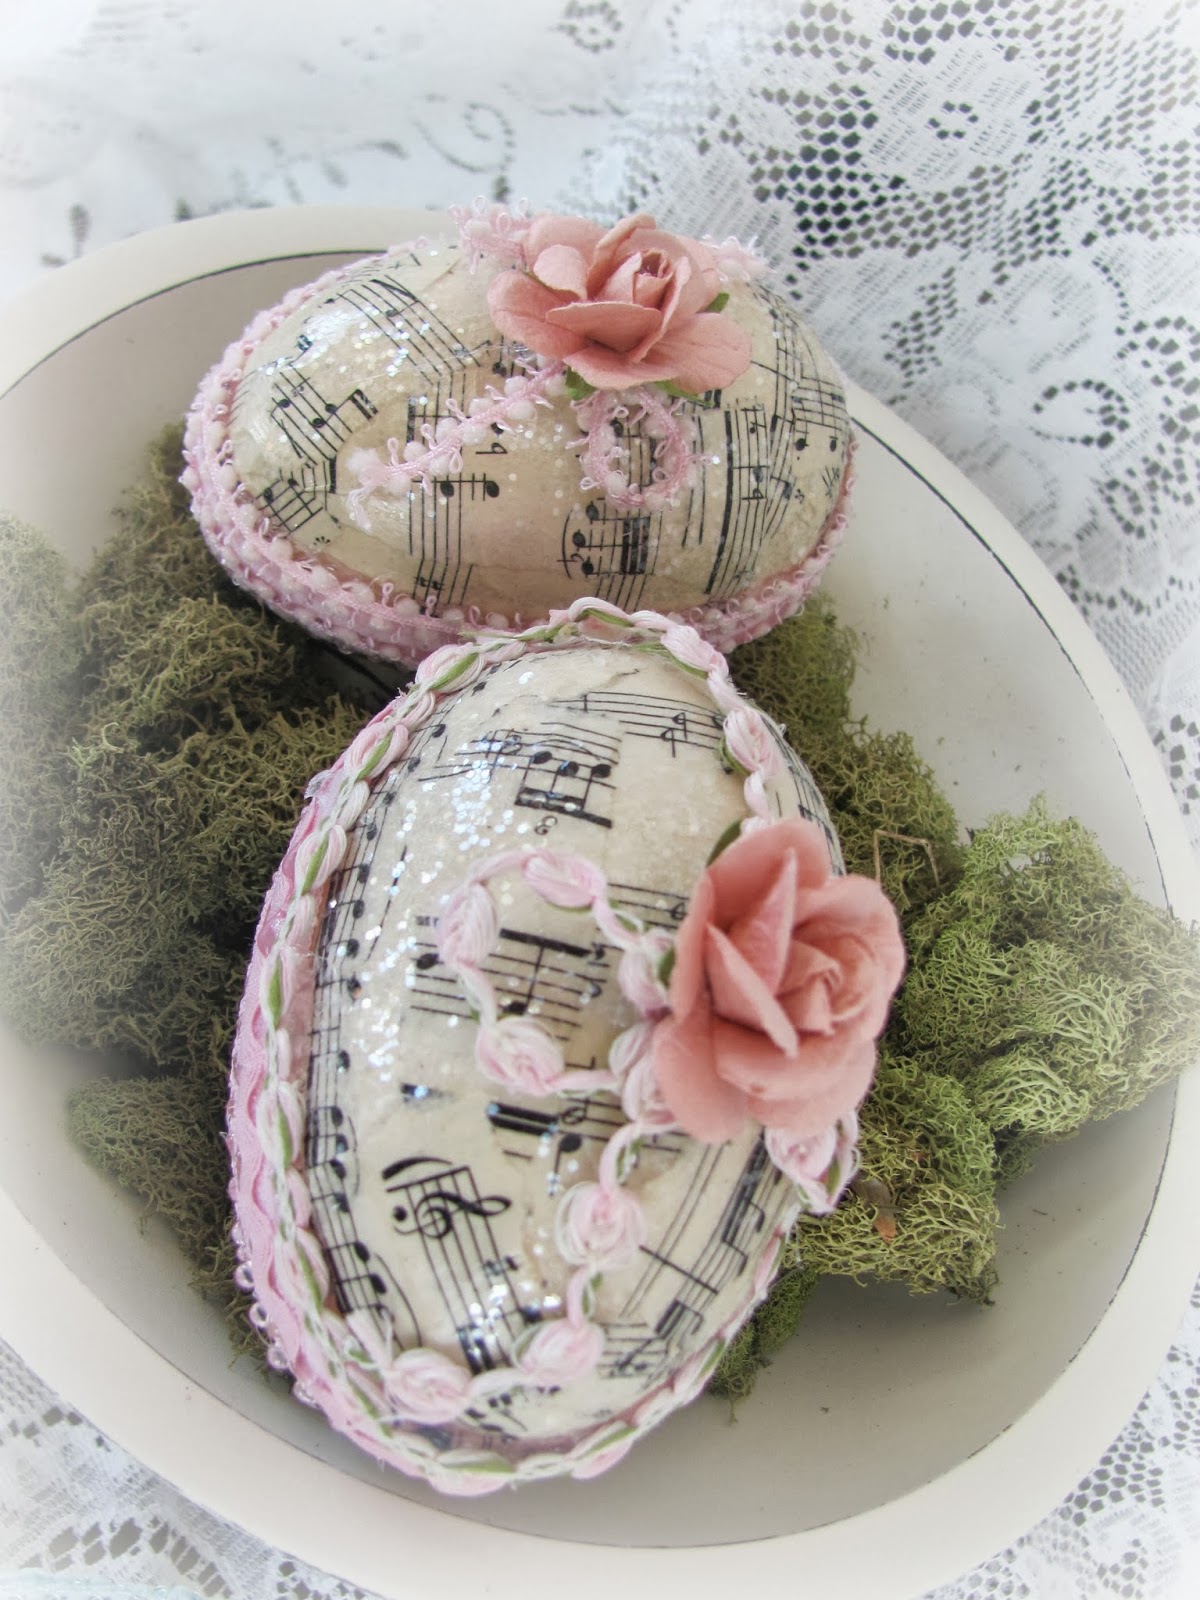
To the inside of my shadow box, I decoupaged a piece of vintage sheet music
(I guess you could say sheet music is one of my signature looks!)
 Then the real fun began!  Assembling my box!
I found this darling little Easter bunny at Hobby Lobby.  Isn't he just the cutest?  He is foil wrapped, giving him the appearance of chocolate (but don't try to eat him, he's decorative only!!)
I also added this sweet spray of pastel colored eggs.
 And the cutest little nest with eggs, also from Hobby Lobby.
 I had so much fun with this project!

 It makes me want to create more for different holidays and seasons!
 I hot glued all of my embellishments in place.  But, if you just placed them inside the box, you could swap them out with the seasons, using the same box again and again for different looks.
Hope that inspires you to create something fun!

Tuesday, March 24, 2015

Easter Hutch in My Craft Room

It's hard to believe that Easter is just a few short weeks away!
So to celebrate the season, and add a springy touch to my craft room, I decided to decorate my hutch.
Awhile back I shared with you the Easter pennant that I created.  I thought my hutch would be the perfect place to display it!

 Here is a look at my hutch and desk, which reside in my craft room. This was part of my French Provincial bedroom set that I had when I was a young girl.  My mom still had the desk, hutch, and matching chair, and didn't use them.  I brought them home a few years ago, and just love it!
Ok, I am totally dating myself, but I remember when I was about 11 or so, going to Montgomery Ward with my mom and sister to pick out my furniture.  I was beyond thrilled, as it was my very first new furniture!
I picked out the matching four poster bed, dresser, and mirror.  I think so many little girls had sets very similar to this at the time.
Little did I know, but that was the start of my love of all things French and shabby chic!
 I think the banner adds such a fun and festive touch!

 I had fun adding touches here and there, like this tres chic petite Eiffel Tower, a gift from a dear friend.
Sitting next to it is a peat pot I made last year, with a bird's nest and faux eggs that I made from polymer clay,
 A sweet little bunny and large silk blossom are hallmarks of spring!
 A small vintage glass apothecary jar (a thrift store find) is filled with pink and blue eggs that I made, along with one of my French bird tags.
 Cute little chicks on an Easter card.
 I "borrowed" this glass cloche with nest and eggs from my Etsy shop.
 I love displaying vintage postcards or photos in my vintage flower frog!
 Here are two of my vintage Easter postcards I pulled out of my stash.
 Gorgeous heart shaped tag I purchased from Becky at Timewashed, which I shared with you last week.  Love!
 Vintage Virgin Mary print is a gentle reminder of the reason we celebrate.
 Here's one last look!  Thanks for joining me on my little tour!

Wednesday, March 12, 2014

Decoupaged and Glittered Easter Eggs

While it still may look and feel like winter outside my window 
(we just got blasted with another snow storm today!), my thoughts are of spring and Easter!
So today I thought I'd share with you some pretty Easter eggs that I created while we were on our trip.
(Geez, maybe we should have stayed in Savannah awhile longer.  After warm temps and sunny days, it's hard to be in the mood for snow again!!)
I began with paper mache like large egg boxes, covering them with randomly torn strips of vintage sheet music.  I used matt Mod Podge to adhere the strips, then once dry, I went over the entire eggs with a couple more coats of Mod Podge.  A bit messy but fun!  While still damp, I sprinkled a generous dusting of clear coarse glitter all over the surface ('cause you know I can never get enough of my glitter!).
 Then came the really fun part, adding the embellishments!  I picked up some pretty trim, lace, velvet ribbon, and pretty paper roses at Michael's, then went to town decking out my eggs!  I just used hot glue to attach all of the trim.
 I really love how this pair of aqua blue embellished eggs turned out.
 The fun part is you can open the boxes and store little treats, maybe special chocolates, or even a love letter!
 I had so much fun creating the blue pair, so I just had to make two more, this time in pink!
 I've put both pairs in my Etsy shop if you care to take a peek!
I think they would look so pretty piled in a pretty dish, or displayed in a pedestal bowl, as I've shown here.

 Ok, some of you mention that you enjoy seeing photos of our furry girl, Katie, so here are a few that I snapped today!
Despite the snow and howling wind, we bundled up today and took a walk.  This is where Katie decided to perch when we came back inside.  Yep, she hopped right up on the hearth herself to warm up in front of the fire!
 And when not warming herself my the fire, she loves to take a nap in "her" wicker chaise lounge in the sun room.  It sure is rough being a dog, isn't it?
That's it for today, hope you enjoy the rest of your week!
Joining Becky for Blissful Whites Wednesday.  Be sure to visit!