Welcome to my blog!

Thanks so much for stopping by! I believe that everyone can have a beautiful home without spending a fortune! One of my favorite things to do is find creative ways to re-purpose things I already have on hand, or have picked up at yard sales and thrift stores. Join me as I share with you some of my favorite ideas for crafting and decorating, as well as travel adventures, and fun things that I pick up on my treasure hunts! Much of my work is influenced by my love all things French, nature, and of course shabby chic! I have gotten so many creative ideas from you very talented bloggers out there, and I hope that I can be an inspiration to you as well!
Showing posts with label paper crafts. Show all posts

Monday, January 12, 2015

Paper Heart Garland

One of the benefits of all the frigid temps and snow that we've been having is being able to stay indoors and create!  I've been getting so many fun and inspiring ideas from Pinterest lately. Wow, it's way too easy for me to spend far too much time there looking at all of the amazing ideas!
So today I thought I'd share with you my paper heart garland that I made the other day, inspired by those spotted on Pinterest.
I know, I know, we are not even half way into January, and here I am thinking of Valentine's Day already!
 I had so much fun with this project, and in the process learned what I would and wouldn't do the next time!
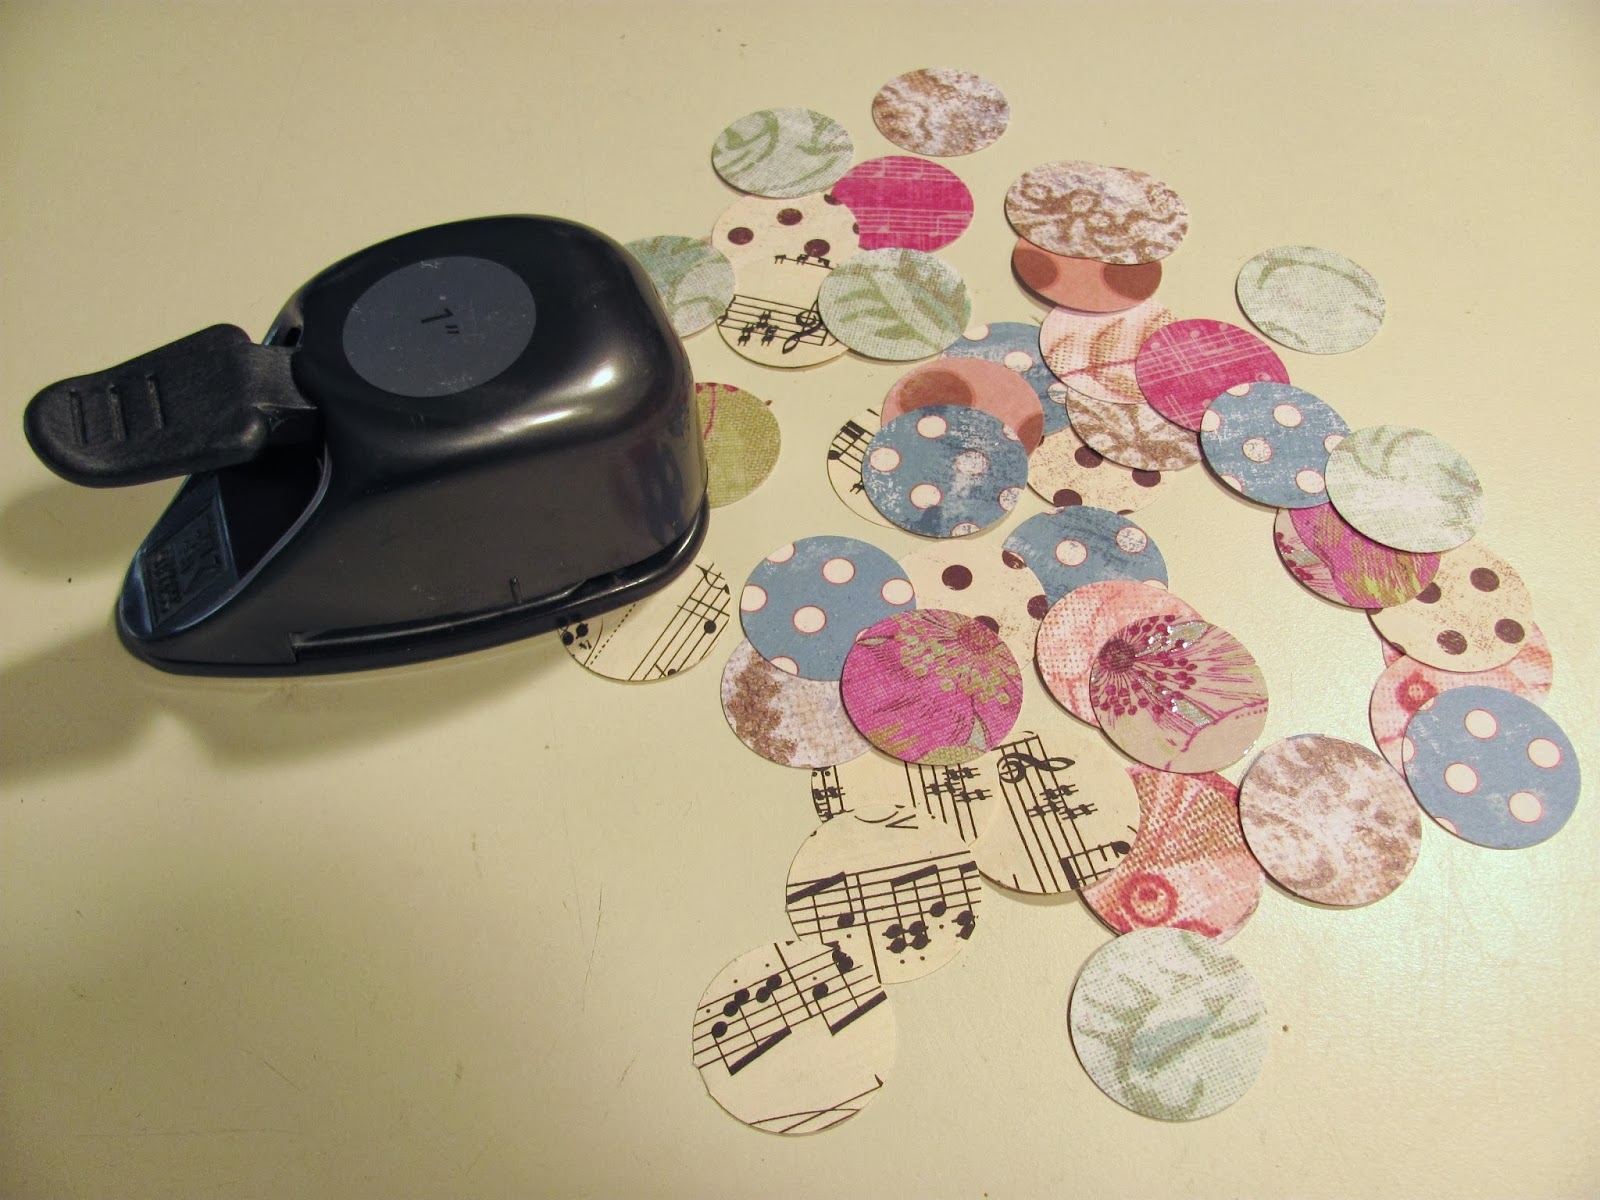
I used a large heart punch to cut out all of the shapes, from both scrap booking paper as well as vintage sheet music.
The fun part is that the garland is stitched on the sewing machine!  Yep, that's right, you can indeed sew paper!
 Each heart is three different layers, folded to give dimension and interest.
 I was having a total brain freeze when I made it, though!  I knew that I wanted to drape or swag it over something. What I hadn't thought of was that I should have had the hearts on one half of the garland facing the other direction!  Instead, I goofed and sewed them all going the same way. That would have been fine had I just hung the strand up vertically.  But to drape them, one side of the hearts would be upside down.  Phooey!
 So, I fudged a bit and cut one end off, and taped it going the right way on the side of my hutch.
(ooops!)
I also would punch my hearts from double sided paper next time.  I thought about that, but really wanted to use the paper that I did, as the colors and patterns were just what I had in mind.
All in all I am happy with how it turned out, though!  You could use different shapes or sizes of punches of course.  I think the garlands could be used in so many different ways.  At birthday parties, bridal or baby showers, or just fun accents for your home!

 Oh, while we are here looking at my hutch, I wanted to show you this adorable bird silhouette, below.
 It was given to me for Christmas by a friend who knows my tastes so well, and I just love it!
The silhouette is mounted on a vintage French book page. So me, and so tres chic!
I just so happened to have the perfect frame for it in my stash, this beautiful vintage metal filigree frame that I'd already painted cream.  Love the contrast with the black.
And here's one final look at my hutch with the heart garland.  I can't wait to make more, and this time I'll be sure to remember what not to do!!
Thanks so much for stopping by, have a great week!

Saturday, November 23, 2013

Easy Christmas Gift Tag Ideas

Bonjour Mes Amis!
It's been a brisk and windy day here at the chateau, so I've been staying cozy inside working in my craft room!
Today I thought I'd share with you some pretty gift tags that I made the other day, that are super easy, and make use of little scraps of paper and bits of cord and ribbon that you may already have on hand.
Pretty much all you need are scissors, a hole punch, glue stick, images of your choice, cord or twine, and scrapbooking paper and some glitter glue.
I began by cutting my tags from chipboard (sorry, I didn't get a shot of that!).  I actually never buy chipboard, I just save the inserts that often come in picture frames.  Whenever I come across chipboard like cardboard in various packaging, I squirrel it away, as you never know when it will come in handy!  
Why buy something when you don't have to, right?!
For the angel tags above, I used a gorgeous image of a pretty angel, compliments of the Graphics Fairy.  I also found the French Christmas sheet music there as well. 
I covered the backs of all of the tags with pretty Christmas scrapbooking paper and vintage sheet music.  
 Here's a look at some of my tags.
 Aren't these chandelier tags the cutest?  I thought the paper was so pretty, so I kept these tags simple and just embellished with some glitter glue.  Luckily I happened to have some red and white baker's twine left over from Valentine's day projects, so all I did was punch holes in the top of each tag and add the twine.
 Here's what the backsides look like.
 I also happened to have a few of these pretty dimensional snowflake stickers left from last year.
 More tags, front and back.
Since these tags are weightier and more substantial made with the chipboard, and many of them oversized, the recipient could hang them from their Christmas tree if they wanted to.  
 The little birdy tags below are some of my favorites!  I made a bunch of them last year too similar to this.  A sweet little chickadee and vintage sheet music, as well as pretty vintage gold cording, makes for a charming addition to your packages.
 Of course you know how much I love glitter!  And the holidays are a great excuse for me to add some sparkle to just about everything (not that I need an excuse!!).
So I used my favorite glitter glue "Stickles" to add some bling to all of the tags.
 Isn't this little metal caddy just the cutest?  I found it awhile back at the thrift store, and just love it!  It's perfect for storing my crafting supplies as I'm working on projects.
 I thought about embellishing each little pot, but I actually am enjoying it as is for now!
Hope this gives you some ideas for making your own tags.
I think they would be so pretty on a simply wrapped gift, hung from a bottle of wine as a hostess gift, or even give a set to a friend as a little gift!
Enjoy the rest of your weekend!
In a few days I'll be sharing with you some of my stenciling experiments. I'm having a blast using my DecoArt stencils and chalk paint!

Sunday, November 3, 2013

Fun & Easy Note Card Project

It's hard to believe that the holidays are just around the corner, isn't it?
I don't know about you, but I just am not ready to start being inundated with endless Christmas commercials on tv, tons of holiday circulars in the newspaper, and Christmas displays in the store!
At any rate, I bet you have lots of people on your list who you may want to give a little something to, without breaking the budget!
Well, here is a fun idea for you, that is so easy and quick to put together.
This would be a great project to do with kids or grandkids.

I've been making cards for quite a few years, in fact, I rarely purchase cards any more!
I always have a stash of little bits and pieces of scrapbooking paper, that I just can't bare to throw away!
So I can up with this idea, as a way to put those tiny scraps to good use.
 I also love crafting with vintage sheet music, and save all of the leftover little pieces.  They come in so handy for projects like this!
 So, you will need an assortment of decorative papers, and a circle punch.  I used a 1" punch.
 Punch out a bunch of circles.  You could even do this while watching tv!
You will also need a glue stick, a bone folder, a little brayer, and rubber stamps and a stamp pad.  
 You will also need blank cards and envelopes.  I always wait til they are 1/2 off before I pick them up at the craft store!  They come in a variety of colors and sizes. For these cards I used cream.  You will use the bone folder to make a nice sharp fold in the card, where it's scored.
 You can either glue your circles on the cards as is.  Or apply a decorative paper first, for your background.  For this set, I decided to cover the fronts of the cards with some sepia toned lightweight scrapbooking paper.  

 I forgot to take a photo of it (ooops!) but I used a bit of distressing ink around the edges of the cards, just to give them some interest.
Ok, now for the fun part! 
Begin by gluing the circles to the front of card, using your gluestick.  The only gluesticks that I ever buy are "UHU" brand, they are made in Germany, and really stick!  If you can't find them at your craft store, Amazon sells them for a great price. 

 Oh, I forgot to mention that I always work on a piece of waxed paper when I am using glue or other messy projects.  Makes clean up so much easier!
Space your circles evenly.  The bigger the card, the more circles you will need.  Don't worry about getting them all perfectly lined up, this isn't rocket science!:)
Here is where your brayer will come in handy.  Just roll it over your circles after you stick them to the card.
Just for fun, I like to add a stamped image to one or more of the circles on each card.  You don't have to do this if you'd rather not.  It might be hard to see in the photos, but I added a small stamped crown image.  It's easier if you stamp your decorative paper first, then cut out with your punch.  I forgot to do that with this set, so the crowns aren't all perfectly lined up, but that only adds to their hand crafted charm, I think!
 I think sets of these note cards would make perfect little gifts for teachers, neighbors, or anyone else that you'd like to give a little something to, without breaking the bank!
 If you are feeling really crafty, you could even create little adhesive stickers to coordinate, to give along with the cards.
Hope that my cards inspire you to create a set (or two, or three!) of your own!