Welcome to my blog!

Thanks so much for stopping by! I believe that everyone can have a beautiful home without spending a fortune! One of my favorite things to do is find creative ways to re-purpose things I already have on hand, or have picked up at yard sales and thrift stores. Join me as I share with you some of my favorite ideas for crafting and decorating, as well as travel adventures, and fun things that I pick up on my treasure hunts! Much of my work is influenced by my love all things French, nature, and of course shabby chic! I have gotten so many creative ideas from you very talented bloggers out there, and I hope that I can be an inspiration to you as well!

Monday, March 24, 2014

A Little Spring Vignette

Is it feeling and looking like spring in your neck of the woods?  With piles of old snow still around here in Michigan, cold temps, and even more of the white stuff in the forecast tomorrow, I think Mother Nature is more than a bit confused!
Regardless of the weather, we can still have fun indoors playing with spring themed decor and crafts, right?
So today I thought I'd share with you a little vignette that I put together, and a cute craft idea that might put a spring in your step!
What began as a humble little cardboard carton holding fresh mushrooms, was transformed into the cute petite basket you see here!
 I had so much fun creating this basket, as well as putting together this springy display!
 Perched atop a vintage silver pedestal with the perfect amount of patina is a sweet little glass cloche full of faux bird's eggs.
In the background are a pair of French themed wooden decoupaged plates that I created a few years ago.
 A tiny vintage silver creamer (with more of that patina that I so love!) holds one of my decoupaged and glittery flower embellished eggs.
 Ok, getting back to my little basket.  It was a very sturdy cardboard carton, that I just knew was full of crafting potential!  I immediately though "Easter Basket"!  So I decoupaged torn pages of vintage sheet music all over, including the inside of the carton.
 I then fashioned a twisted wire handle from pretty wired floral garland.
A copy of a vintage French soap label, courtesy of the Graphics Fairy, was decoupaged to the front.

 To embellish the basket, I added pretty creamy cotton lace to the top, and added a cute black and white paper flower, both from Michael's.
I filled the basket with crinkled shredded brown kraft paper, a darling little birdie, and a petite faux nest and eggs.
The little bird actually was pretty worse for wear when I first found him.  He was stuffed inside of a birdcage that I picked up at a thrift shop awhile back.  I didn't have the heart to toss him at the time, even though he looked, well, pretty tired!
So I decided to cover him in clear glitter ('cause you know how much I love my glitter!), and I think he looks much happier now!


 I'm so happy with the way my little basket turned out!  I had all of the materials on hand, so the cost was basically free!


So I hope that I've inspired you to take a closer look at items you may be about to toss in the trash or recycling, and see them as potential craft projects!
Joining Blissful Whites Wednesday, be sure to visit!

Friday, March 21, 2014

French Stenciled Signs

Bonjour Mes Amis,
I've been busy creating and painting in my craft room, and thought I'd share with you two of my latest creations.
With the help of my handy hubby who cut the boards for me, I've created a couple of Frenchy stenciled signs for my Etsy shop.  I just love the curvy shape at each end!
For the first one you see here, I've used a gorgeous turquoise chalk paint by DecoArt.
The stencils are from DecoArt as well.
 I just love all of the flourishes and fleur de lis!  Tres chic!

 "Le Petit Gateau" = "The Little Cake".

 The second sign is in the same shape, and I've used DecoArts chalky finish paint in a pretty creamy dreamy white!
 I just love their French themed stencils!
 (I've not been compensated for this post, just sharing my opinions about DecoArt!)
Now if you want to see a real French patisserie, how about this?!
 Or a Parisian cafe?!
 Oooh, la, la!
I snapped all of these shots on one of our trips to Paris.
Just thinking about all of their wonderful food is making me hungry:)
That's it for today, have a great weekend!

Tuesday, March 18, 2014

Peat Pot Fun!

Bonjour Mes Amis!
Like many of you, I love creating with peat pots!  Isn't it amazing how something so humble looking can be so full of crafting potential?
I picked up a pack of peat pots
  (try saying that three times fast!!) 
last week, and had fun coming up with these.
 As with many of my projects, I often don't have a set plan of exactly how the end piece will look.  I just pull out items from my stash and get to work.  Things usually have a way of coming together, and with any luck end up better than I think they will!
For these little cuties, I started by painting the pots creamy white.
I found some wonderful Frenchy graphics over at the Graphics Fairy and added them to the front of each pot.
 Pretty creamy cotton lace looked perfect around the rims, I think.  I grabbed my stash of buttons, and found these vintage Mother of Pearl buttons, which I added as well.
 My favorite part of the baskets are the sweet handles!
 Earlier this winter I had bought some gorgeous wired garland with pretty silk and velvet flowers.  While I wasn't exactly sure what I would do with it, I knew that it was full of crafting potential!  So I had a bit of a brain storm, and used a bit to fashion cute little handles!
 I'm so happy with the way my baskets turned out, and had so much fun creating them!
 I've put them in my Etsy shop, but you can be sure that I'm going to make some for myself to keep!
Initially I was going to fill the baskets with little bits of this and that, but decided to just add a bunch of crinkled shredded brown kraft paper. That way, the recipients can add their own treats or treasures.  I think they would be so pretty as party favors, or favors at bridal or baby showers!  
And of course they would be wonderful filled with jelly beans or little chocolate eggs for Easter!
 Thanks so much for visiting today, hope I have inspired you a bit!
Have a great day!
Joining the following parties:
Blissful Whites Wednesday
Shabbilicious Friday

Sunday, March 16, 2014

Nesting

Hi, hope you all are having a great start to the week!
Last week I showed you the decoupaged Easter eggs that I'd made.  Guess you could say that I've been on an egg kick lately, as I also made a bunch of tiny faux eggs and nests!
I had so much fun creating these, and can't wait to make more!
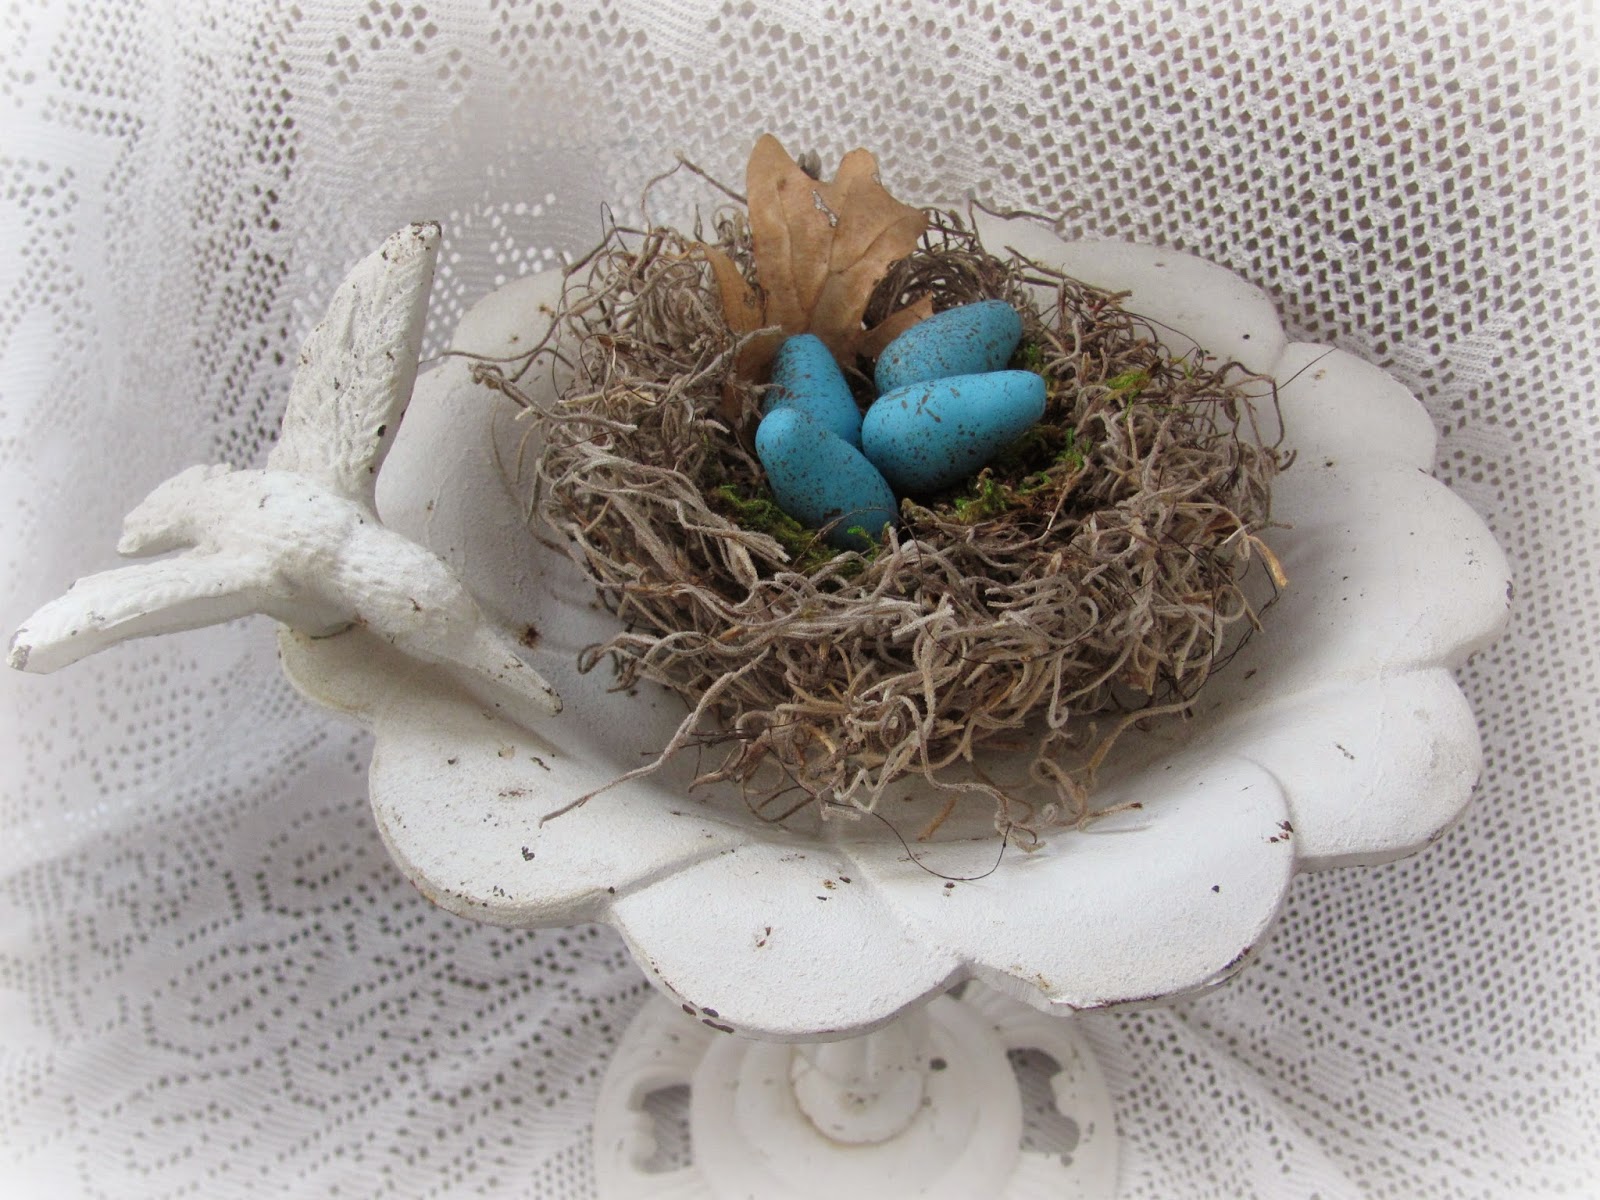
 The eggs are made of Sculpy clay, and have been oven baked, which makes them hard and very durable.  I added tiny brown speckles, to make them look even more realistic!
I just love the bright turquoise color of these eggs.
 I fashioned the nests from Spanish moss, bits of real leaves, twigs, and green moss.
I think the end result is quite realistic looking!
 Aren't these little pale pink eggs pretty?  Ok, I don't know of any real bird's eggs that would be this pink, but I thought it would be fun to make some of my own:)

 I also made some pretty light blue eggs, so sweet, I think!
I've added all of these nests and eggs to my Etsy shop, if you care to take a peak!

 I'm going to create some for myself to keep, as I just love to decorate with them.
Nothing says "spring" more to me than sweet little nests and eggs!
Enjoy your week!  Now I'm off to see what you all have been up to!

Wednesday, March 12, 2014

Decoupaged and Glittered Easter Eggs

While it still may look and feel like winter outside my window 
(we just got blasted with another snow storm today!), my thoughts are of spring and Easter!
So today I thought I'd share with you some pretty Easter eggs that I created while we were on our trip.
(Geez, maybe we should have stayed in Savannah awhile longer.  After warm temps and sunny days, it's hard to be in the mood for snow again!!)
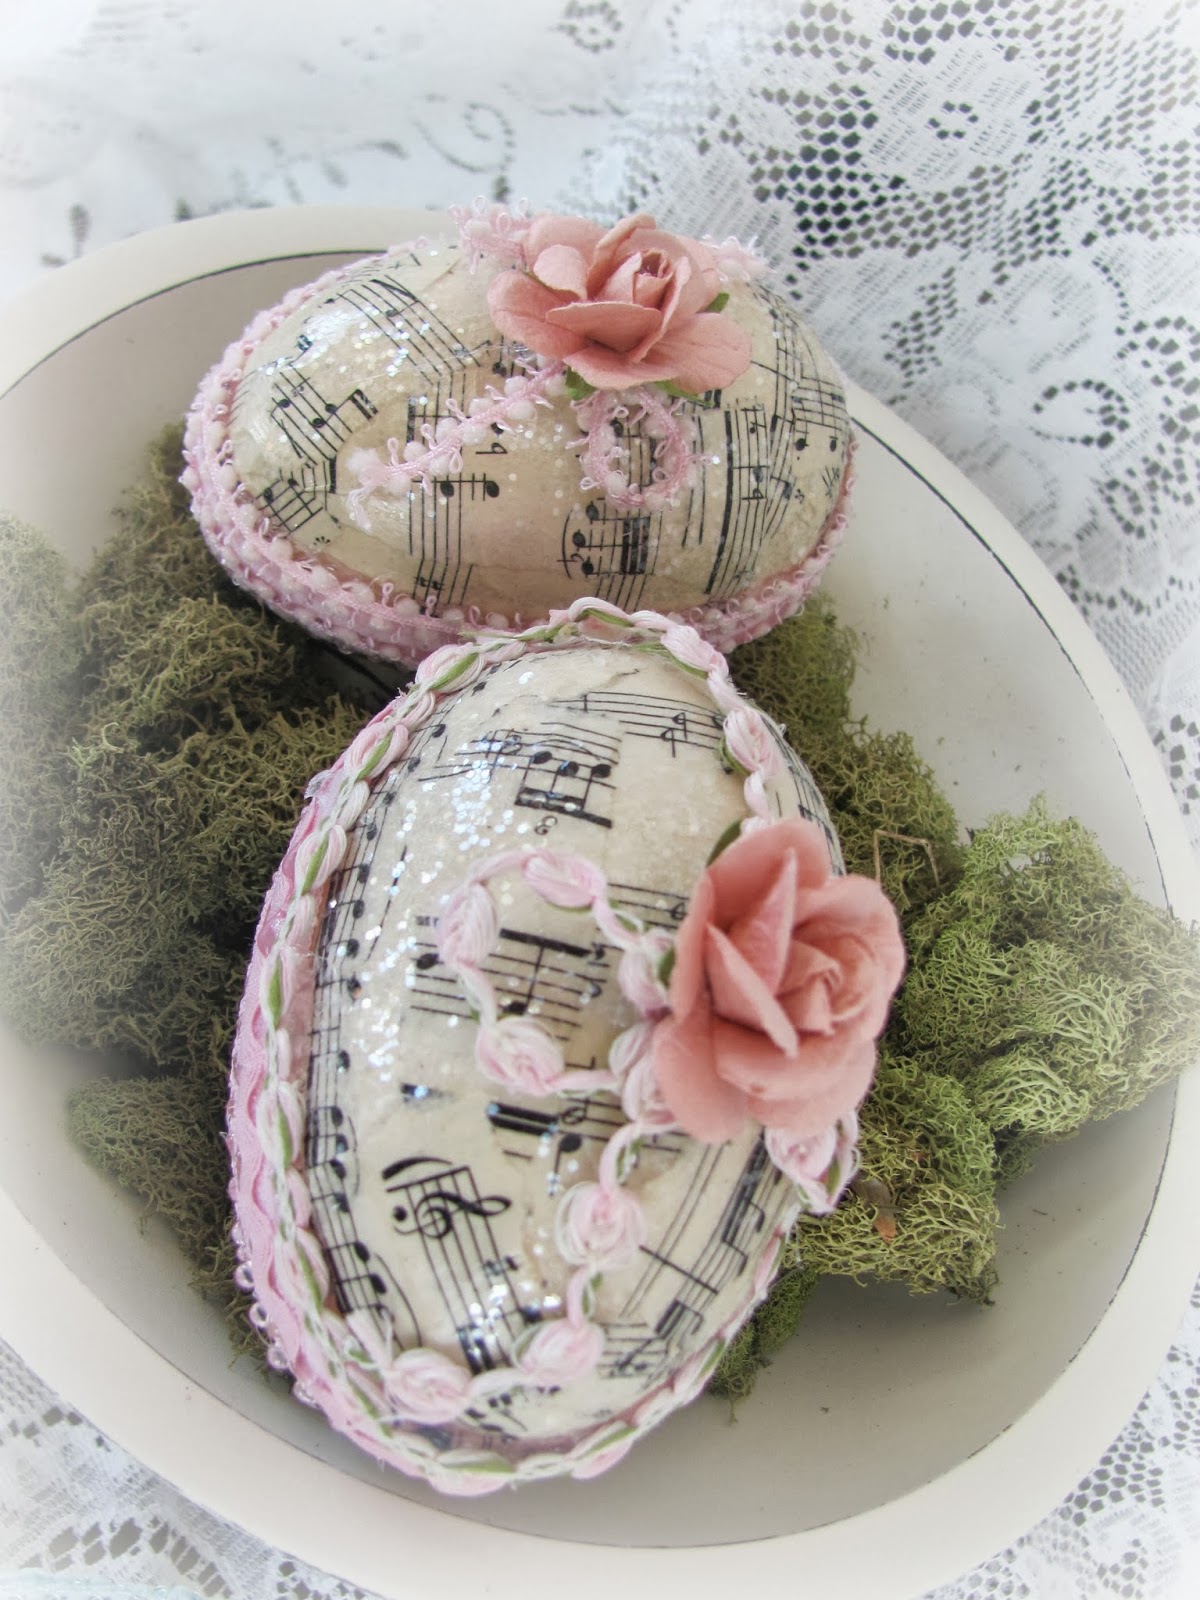
I began with paper mache like large egg boxes, covering them with randomly torn strips of vintage sheet music.  I used matt Mod Podge to adhere the strips, then once dry, I went over the entire eggs with a couple more coats of Mod Podge.  A bit messy but fun!  While still damp, I sprinkled a generous dusting of clear coarse glitter all over the surface ('cause you know I can never get enough of my glitter!).
 Then came the really fun part, adding the embellishments!  I picked up some pretty trim, lace, velvet ribbon, and pretty paper roses at Michael's, then went to town decking out my eggs!  I just used hot glue to attach all of the trim.
 I really love how this pair of aqua blue embellished eggs turned out.
 The fun part is you can open the boxes and store little treats, maybe special chocolates, or even a love letter!
 I had so much fun creating the blue pair, so I just had to make two more, this time in pink!
 I've put both pairs in my Etsy shop if you care to take a peek!
I think they would look so pretty piled in a pretty dish, or displayed in a pedestal bowl, as I've shown here.

 Ok, some of you mention that you enjoy seeing photos of our furry girl, Katie, so here are a few that I snapped today!
Despite the snow and howling wind, we bundled up today and took a walk.  This is where Katie decided to perch when we came back inside.  Yep, she hopped right up on the hearth herself to warm up in front of the fire!
 And when not warming herself my the fire, she loves to take a nap in "her" wicker chaise lounge in the sun room.  It sure is rough being a dog, isn't it?
That's it for today, hope you enjoy the rest of your week!
Joining Becky for Blissful Whites Wednesday.  Be sure to visit!
Sunday, March 9, 2014

Home Sweet Home!

Bonjour Mes Amis!
After 6 weeks of being on the road in our motor home, we're finally back!  While it was wonderful to get out of the snow and cold for awhile, I missed home oh so much!
We pulled into our driveway last night, and have spent the day unloading, unpacking, and doing lots of laundry.  Certainly not the most fun part of any trip, but we are thankful that we are able to travel as much as we do!  But, as the old saying goes..............
There's No Place Like Home!
Rather than share with you photos of all the snow here
(because I know many of you are dealing with the same stuff where you live!!)
I thought I'd share with you a few photos I took while we were in Savannah, of the neatest shop called 
"The Paris Market".
I'd shopped there on previous trips, and was really excited about visiting again!
I know you would not only love this amazing store as much as I do, but I bet you would be drooling over all of the gorgeous displays and vignettes (like I was!!).
I am loving the lit up "Paris"!
This painted antique dresser was oh so shabbyliscious!
Loved all of the wonderful silver treasures on display!
 I was totally drooling over these gorgeous French bistro chairs, they are the very same chairs used in so many of the sidewalk cafes in Paris!
Look at this amazing tablescape, done in a sea shell theme!
The placemats were so fun, made of paper.  I love the large wood spoons at each setting, as well as the real sea urchins in the soup bowls, how fun!!
I would love, love, love to have a worktable like this in my kitchen (if only I had a kitchen large enough to hold it, sigh!!).
source

I realized that I had forgotten to take a photo of the outside of the store, so I found this one on line.
So, if you ever get the chance to visit Savannah, be sure to check out "The Paris Market"!
\Hope you have a great week, looking forward to getting caught up with you all!