
It's hard to believe that the holidays are just around the corner, isn't it?
I don't know about you, but I just am not ready to start being inundated with endless Christmas commercials on tv, tons of holiday circulars in the newspaper, and Christmas displays in the store!
At any rate, I bet you have lots of people on your list who you may want to give a little something to, without breaking the budget!
Well, here is a fun idea for you, that is so easy and quick to put together.
This would be a great project to do with kids or grandkids.

I've been making cards for quite a few years, in fact, I rarely purchase cards any more!
I always have a stash of little bits and pieces of scrapbooking paper, that I just can't bare to throw away!
So I can up with this idea, as a way to put those tiny scraps to good use.

I also love crafting with vintage sheet music, and save all of the leftover little pieces. They come in so handy for projects like this!

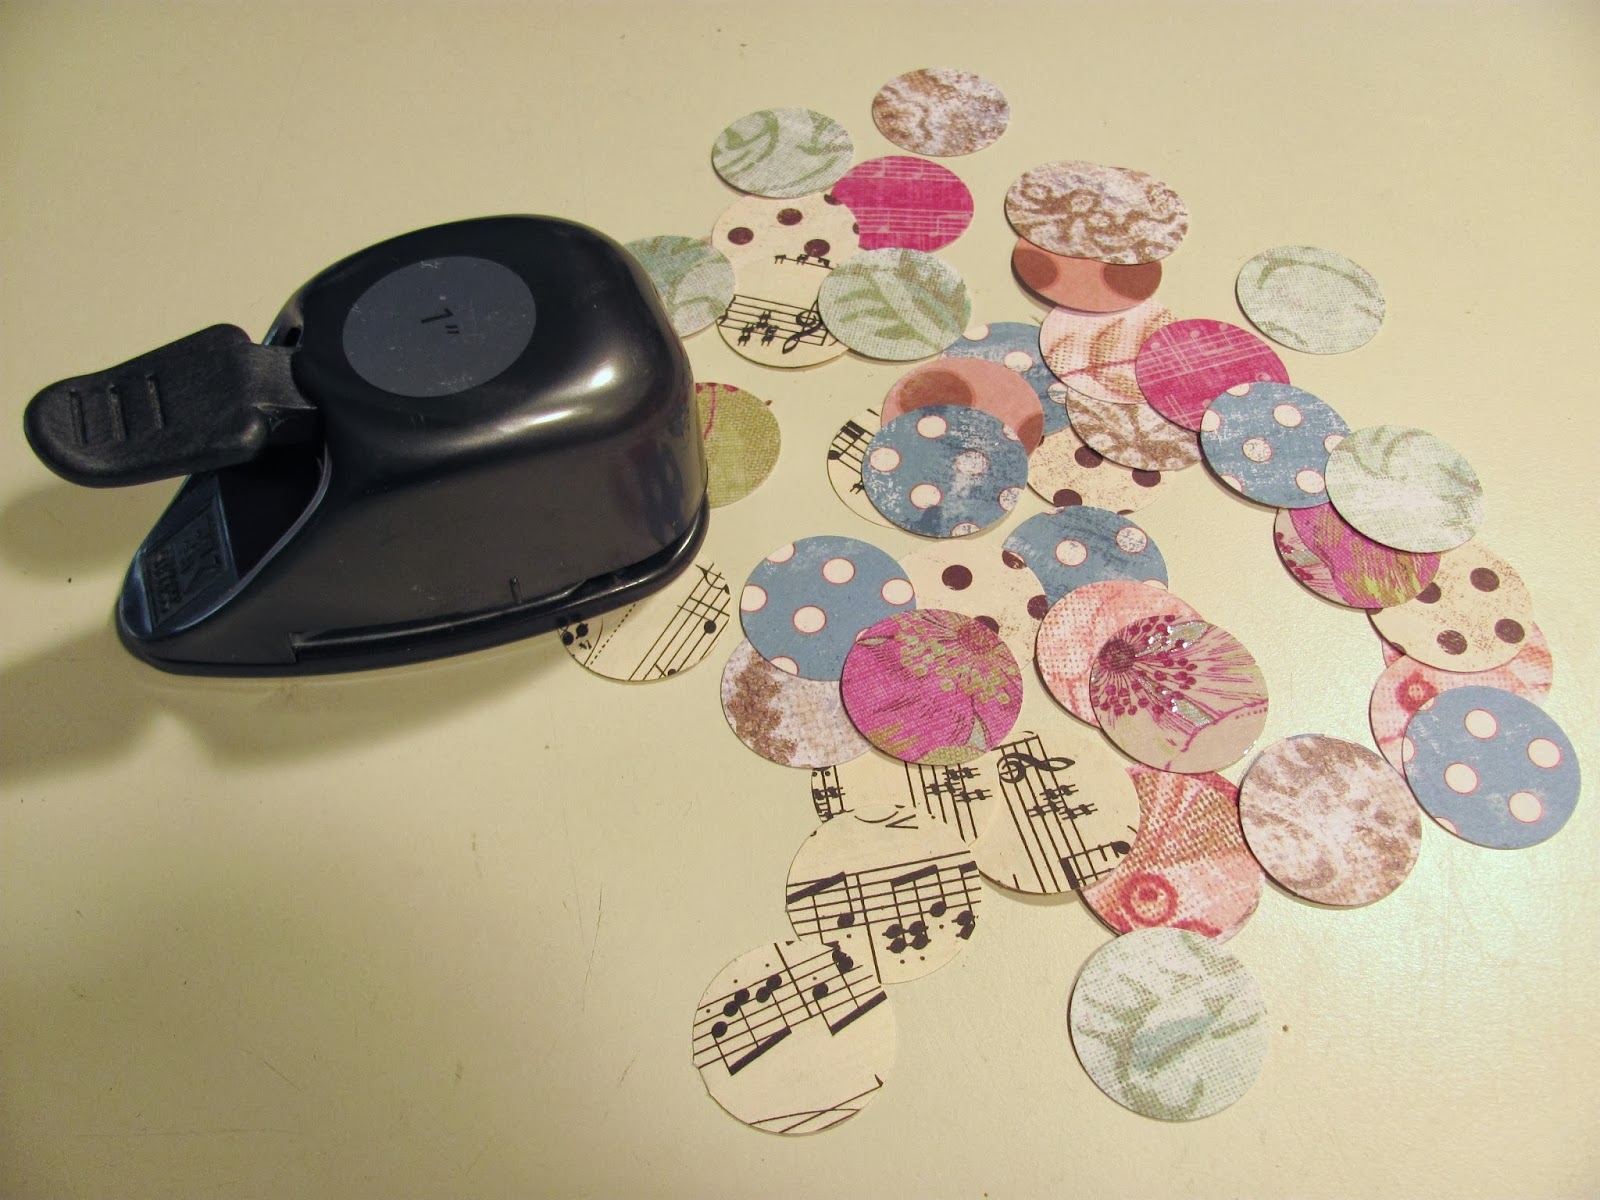
So, you will need an assortment of decorative papers, and a circle punch. I used a 1" punch.

Punch out a bunch of circles. You could even do this while watching tv!
You will also need a glue stick, a bone folder, a little brayer, and rubber stamps and a stamp pad.

You will also need blank cards and envelopes. I always wait til they are 1/2 off before I pick them up at the craft store! They come in a variety of colors and sizes. For these cards I used cream. You will use the bone folder to make a nice sharp fold in the card, where it's scored.

You can either glue your circles on the cards as is. Or apply a decorative paper first, for your background. For this set, I decided to cover the fronts of the cards with some sepia toned lightweight scrapbooking paper.
I forgot to take a photo of it (ooops!) but I used a bit of distressing ink around the edges of the cards, just to give them some interest.
Ok, now for the fun part!
Begin by gluing the circles to the front of card, using your gluestick. The only gluesticks that I ever buy are "UHU" brand, they are made in Germany, and really stick! If you can't find them at your craft store, Amazon sells them for a great price.

Oh, I forgot to mention that I always work on a piece of waxed paper when I am using glue or other messy projects. Makes clean up so much easier!
Space your circles evenly. The bigger the card, the more circles you will need. Don't worry about getting them all perfectly lined up, this isn't rocket science!:)
Here is where your brayer will come in handy. Just roll it over your circles after you stick them to the card.
Just for fun, I like to add a stamped image to one or more of the circles on each card. You don't have to do this if you'd rather not. It might be hard to see in the photos, but I added a small stamped crown image. It's easier if you stamp your decorative paper first, then cut out with your punch. I forgot to do that with this set, so the crowns aren't all perfectly lined up, but that only adds to their hand crafted charm, I think!

I think sets of these note cards would make perfect little gifts for teachers, neighbors, or anyone else that you'd like to give a little something to, without breaking the bank!

If you are feeling really crafty, you could even create little adhesive stickers to coordinate, to give along with the cards.

Hope that my cards inspire you to create a set (or two, or three!) of your own!
8 comments:
Those are really cute, Donna. Darling idea. I bet my grandgirls would love making cards. That is one craft I have never undertaken yet. xo Diana
Great note cards. I am a card hoarder. I always find a box of 30 cards at Costco that are 3 D and they are so pretty. I have a lot of equipment left over from Scrapbooking and I never finished a book. LOL So I could use all the great paper that I have. I better start using it.
Whats Katie up to, that little cutie.
Have a great week.
Mary
What a creative use for those tiny scraps of leftover paper. Love it!
Thanks for the idea. I've been wanting to make some cards and you've given me a great idea.
Hello ! what a great project and a great way to recycle those cards that I can't bear to throw away !
Gail x
Hi Donna, I just love your note cards and such a darling idea with the circles. It is such a great use for the bits of papers we all have left over.
You are one creative girl!!
Have Fun.
Hugs
This is such a cute idea! I will have to get a couple of things, but I plan to make some cards this year for sure!
What a great idea! I can never throw my scraps away either so this is a perfect idea...love it!
~Trisha
Post a Comment